You’ve done your impressions, they look great, and you’re ready to send them off!
But don’t forget, our dental team still needs photos of your teeth in order to accurately assess your bite for the creation of your Invisible Aligner Treatment Plan.
The most important aspect of good smile photos is clarity and good lighting. It’s best to have a friend take the photos, or to point the screen of your phone at a mirror so that you can see how and if you are capturing your teeth properly. The shot needs to be up close and in focus, otherwise it may need to be retaken.
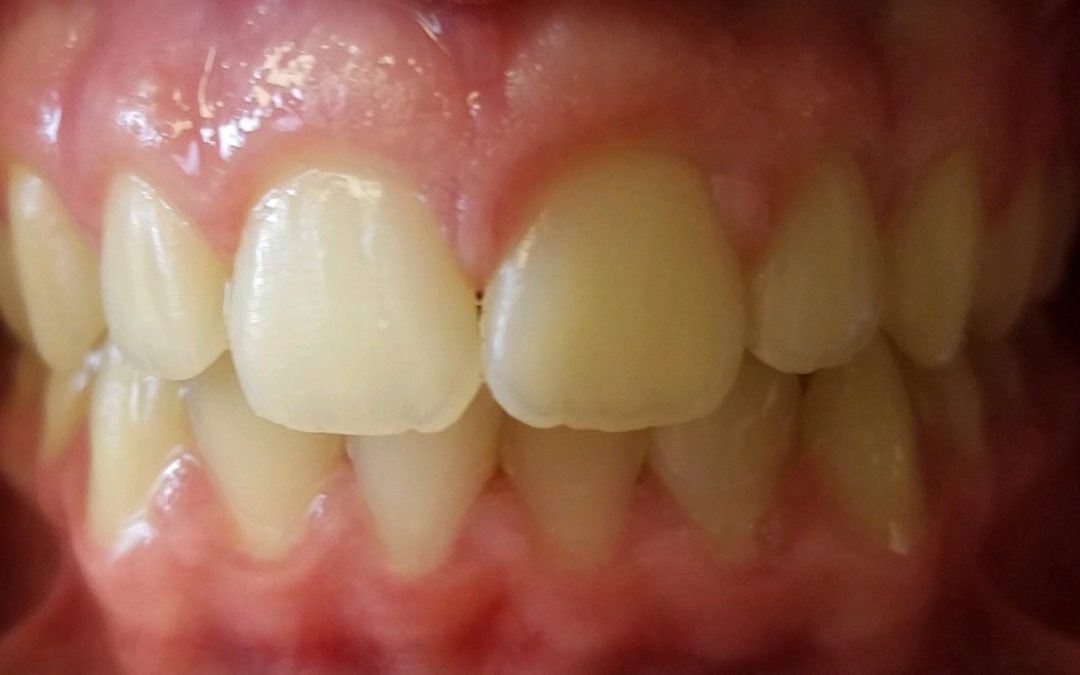
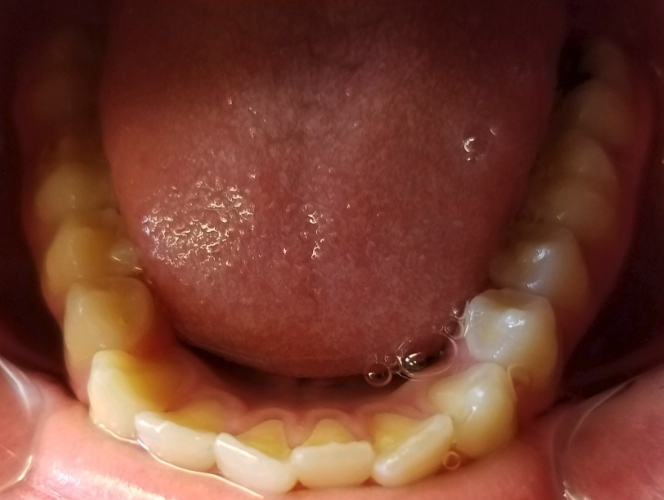
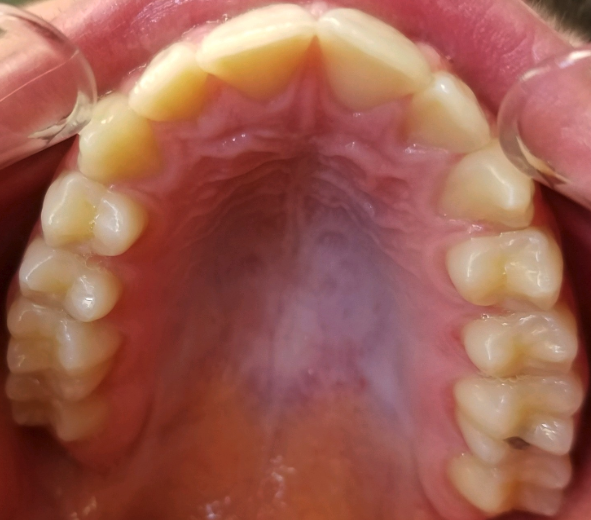
We need 5 photos of your teeth: Three closed-bite photos (the front of your teeth, and each side), and two open-mouth photos (upper arch and lower arch). These can be emailed to us or uploaded to your SnapCorrect account.
If you already uploaded photos of your teeth to your account before receiving the kit, you do not need to take new ones with the cheek retractor that comes with the Impression Kit. However, we strongly encourage you to do so if your first set was taken too far away or was not sharply in focus. The cheek retractor does make it all a bit easier. Our customer service experts are happy to upload your new photos to your account for you.
Once you have taken your clear, beautiful Smile Selfies, your cheek retractor should be saved, as you may need to take another good photo to show our dental team how your Invisible Aligner Treatment is progressing. Saving it so you can take those “after” photos once treatment is complete is even better! There are other fun things you can do with your cheek retractor, too!
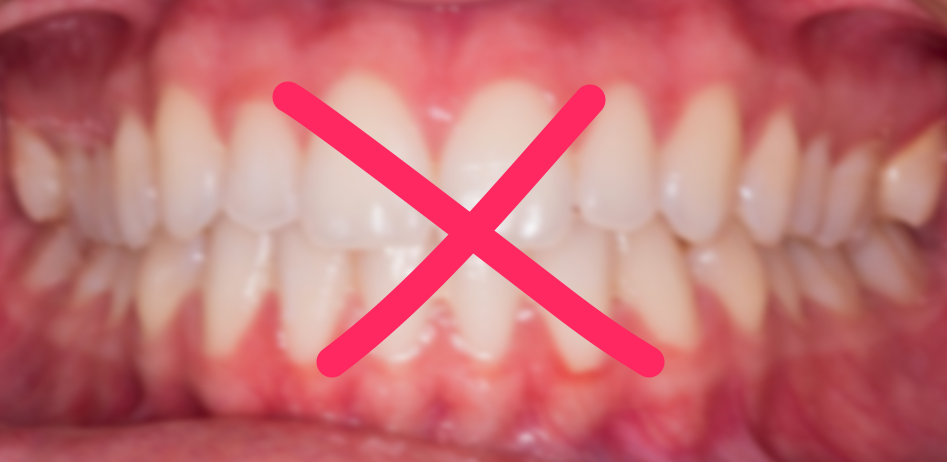
Remember, your Smile Selfies should be clear, close-up, well-lit, and in focus. It is also important that your closed-bite photo be of your closed natural bite, not of the teeth open.